Hi All,
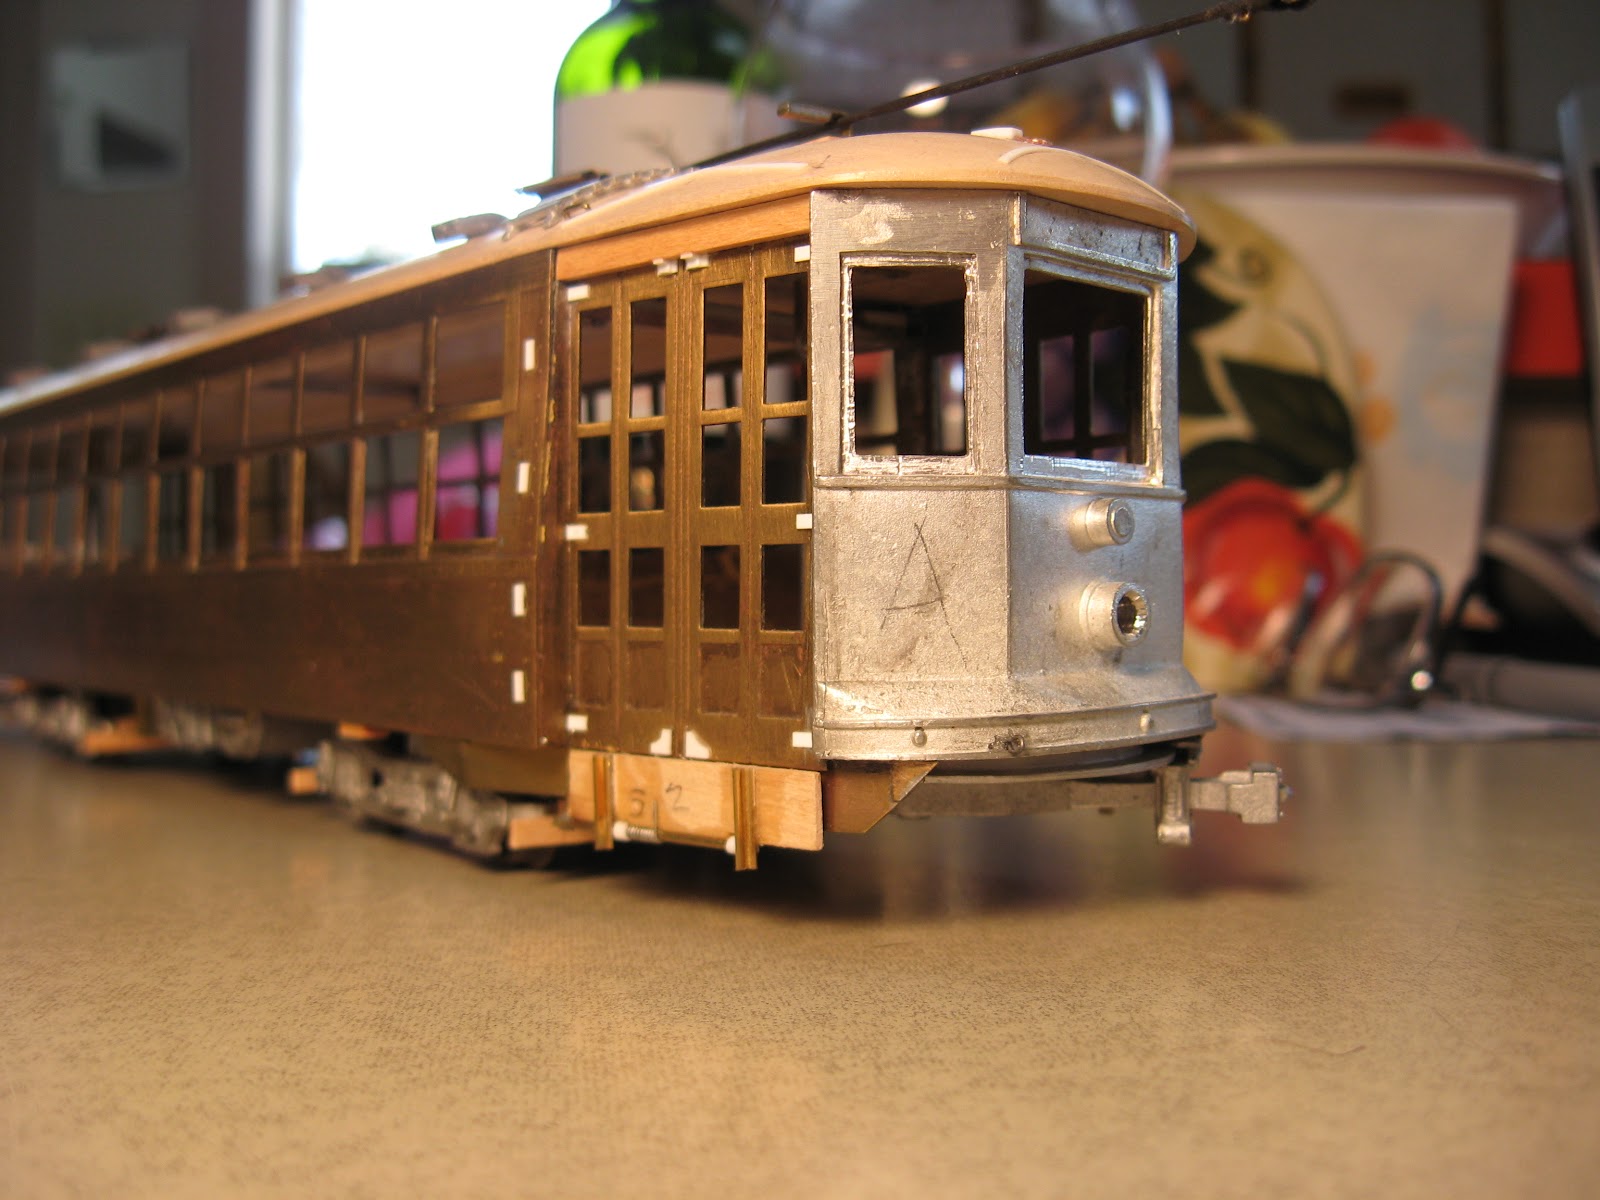
I am long overdue for another post. Here we go. This time we will dip into the DCC waters, a little. We will share some pictures of a Boston Type 5 car I have been working on. I added a DCC decoder with the associated wiring and an LED lightbar. The brass model was imported by Ken Kidder from Japan over 50 years ago. I added white metal ends and a new floor and roof. Here is a general view below.
The car has 3.0 mm LED headlights, a Digitrax DZ-143 decoder and a Miniatronics Model 100-YCL-01 Lightbar. The headlights and interior lights may be switched off or on independently. The headlights also have automatic switching which lights the "forward" headlight depending on the direction the car is traveling in. Pictures of some details of the installation and a wiring diagram follow.

This is the wiring diagram I prepared for the car before I started work. Taking the time to prepare a wiring diagram will allow you to understand the wiring design ahead of time. The decoder instructions will tell you all you need to know about the decoder wiring and functions. Installing DCC in a trolley with a detailed interior is as much about the routing of the wiring and the plugs locations that allow disassembly for maintenance and repairs as it is about the decoder. Determining the wire routing and plug locations before you start can save you from a rat's nest of wiring.
The wiring diagram will also serve as a record that may be referenced in the future when you don't remember how you wired ther car.
This view shows how the Miniatronics lightbar is mounted to short pieces of 1/8" x 3/16" styrene strip at three locations. The strips are Goo'd to the underside of the roof and 2 mm screws thread into tapped holes in the styrene styrips.
This view shows the wiring connection from the roof to the body. A Miniatronics miniature three wire plug was used. Two wires are for the lightbar and the third is for the overhead feed. The brass clip screwed to the roof takes the strain of pulling apart the plug when the roof is removed. This is necessary because I can't get my hand in to the plug when removing the roof because the wire is tight. I did not want the wire with the plug to have much slack because it could hang down and be visable through the windows.
This view shows the wiring connection from the body to the roof including the other end of the Miniatronics plug. The brass clip soldered to the car body takes the strain of pulling apart the plug when the roof is removed. The white box is over the power truck.
This view shows how the roof wires are routed and fastened to the windowpost of the car side.
This view shows the connection for the power truck wires. There are three wires, one for each motor lead and a wire grounded to the truck for track pick-up.
This view shows the DZ-143 decoder mounting under the platform and the wiring that needs to connect to it. The resistor is in the circuit for the front 3 mm headlight LED.
Thats all fot this post. Let me know if you have questions.
Charlie


